A bare install of Visual Studio Code is just a text editor. The moment you add the right Python tooling, it turns into a debugging, refactoring, and testing environment that rivals PyCharm — without the weight. I have set up VS Code for Python on a dozen machines, from junior dev laptops to CI runners. This is the configuration I keep coming back to.
I will walk you through it exactly as I do it: install, pick the interpreter, add extensions, turn on formatting and linting, and wire up the debugger. Every screenshot below is from a real session.
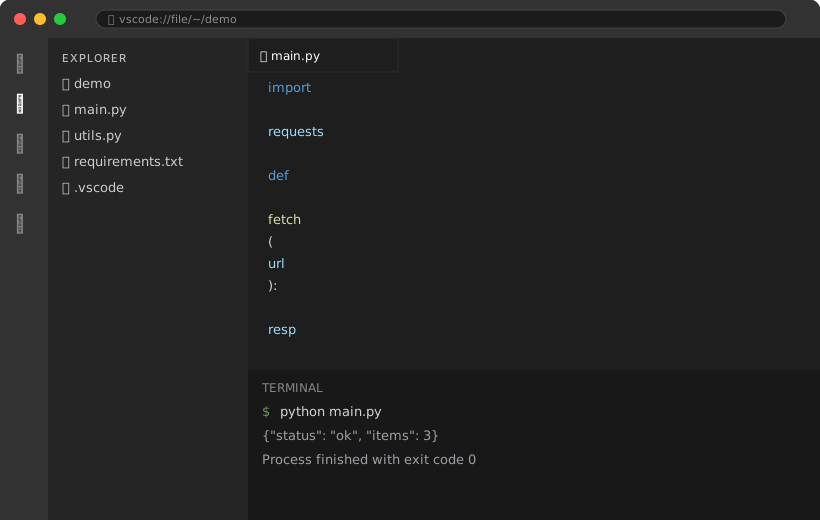
1. Install VS Code and the Python Extension
Download VS Code from code.visualstudio.com. On macOS you can also run brew install --cask visual-studio-code; on Linux, sudo apt install code after adding the Microsoft repo. Once open, the single most important extension is Python by Microsoft (ms-python.python). It bundles Pylance (the language server) and the debugger.
Open the Extensions panel (Cmd+Shift+X), search “Python”, and install the one published by Microsoft. After it loads, VS Code understands .py files: you get IntelliSense, go-to-definition, and inline error reporting out of the box.
2. Select the Right Python Interpreter
This is the step beginners skip and then wonder why nothing imports. VS Code must know which Python to use. Open the Command Palette (Cmd+Shift+P) and type “Python: Select Interpreter”. Pick the interpreter inside your virtual environment — it usually looks like ./.venv/bin/python.
Tip: If you do not see your virtual environment, create one first with python -m venv .venv and reopen the folder. VS Code auto-detects .venv and venv directories.
Once selected, the bottom status bar shows the active interpreter. Every terminal you open from VS Code (Ctrl+`) already activates that environment, so pip install lands in the right place.
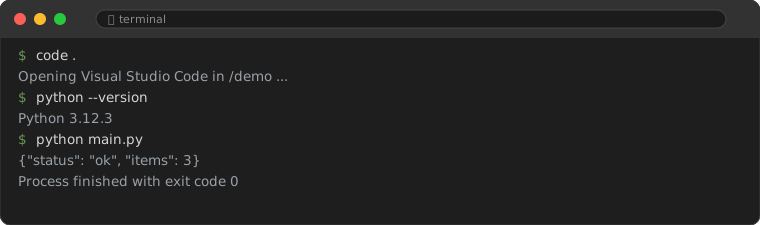
3. The Extensions Worth Installing
Beyond the base Python extension, these are the ones I install on every machine:
| Extension | What it does | Why I keep it |
|---|---|---|
| Pylance | Fast type-aware IntelliSense | Ships with the Python extension; catches bugs as you type |
| Black Formatter | Auto-formats on save | Ends formatting debates forever |
| Ruff | Linter + import sorter | One tool replaces flake8 + isort, very fast |
| Jupyter | Notebook support | Data work without leaving the editor |
| GitLens | Blame, history, annotations | See who changed a line and when |
| Error Lens | Inline error text | No need to hover to read the message |
4. Settings That Make Python Pleasant
Open Settings (Cmd+,) and switch to the JSON view, or just edit .vscode/settings.json in your project. This is the block I paste into almost every repo:
{
  "python.defaultInterpreterPath": ".venv/bin/python",
  "[python]": {
    "editor.formatOnSave": true,
    "editor.defaultFormatter": "ms-python.black-formatter",
    "editor.codeActionsOnSave": {
      "source.organizeImports": "explicit"
    }
  },
  "python.linting.ruff.enabled": true,
  "python.analysis.typeCheckingMode": "basic"
}
With this, saving a file auto-formats with Black and sorts imports with Ruff. You stop thinking about style and start thinking about logic.
What you should see: After enabling format-on-save, a messy block pastes in and, the instant you hit Cmd+S, snaps into PEP 8 shape. If nothing happens, confirm the formatter is selected under “Python > Formatting: Default Formatter”.
5. Debugging Without Print Statements
The biggest quality-of-life upgrade is the debugger. Create a .vscode/launch.json once and you can press F5 to run your script with breakpoints. Here is the minimal config I use:
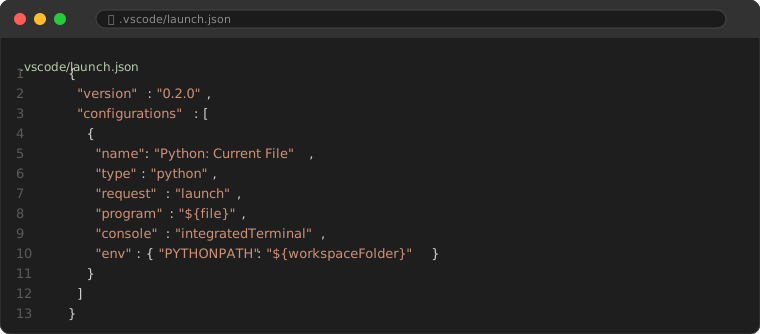
Click the left gutter next to a line number to drop a red breakpoint. Press F5. Execution pauses; you can hover variables, step with F10/F11, and inspect the call stack. I cover the command-line debugger pdb in a separate hands-on guide for times you are stuck in a terminal session.
6. Running Tests Inline
VS Code discovers pytest and unittest tests automatically. Open the Testing panel (Cmd+Shift+T) and you get a tree of every test in the project, with a green run arrow next to each. Click it and the output appears in the integrated terminal. No more pytest typing — though you should still know the command for CI.
7. Common Setup Mistakes
- Using the system Python. You will pollute global packages. Always pick a venv interpreter.
- Two formatters fighting. If both Black and autopep8 are enabled, formatting behaves oddly. Pick one (Black) and set it as default.
- Extensions disabled per-workspace. VS Code remembers extension state per folder. If linting stops, check the Extensions panel is not disabled for that workspace.
- Forgetting
.vscode/settings.jsonin git. Sharing it means the whole team gets the same formatter and lint rules.
Frequently Asked Questions
Do I need the full Anaconda distribution?
No. A plain Python install plus a virtual environment is lighter and sufficient for most work. Anaconda helps mainly for data-science packaging on Windows.
Is VS Code better than PyCharm for Python?
PyCharm has deeper framework integration (Django, Flask) out of the box. VS Code is lighter, faster to start, and more flexible. For most backend work I prefer VS Code; for heavy Django projects, PyCharm.
My imports show as unresolved but the code runs.
The interpreter is usually wrong. Re-run “Python: Select Interpreter” and pick the venv. Also run “Python: Restart Language Server” from the Command Palette.
That is the setup I ship with. It takes about ten minutes and removes a surprising amount of daily friction. Pair it with the 15 extensions I recommend if you want to go further.